
AdnTurbo
The AdnTurbo Tool is a feature designed to automate the creation of an AdonisFX rig from scratch on a clean asset within Maya, from which fine-tuning and customization can proceed. It sequentially configures the following layers:
- Muscle layer
- Locators and Sensors
- Glue layer
- Fascia layer
- Fat layer
- Skin layer
Please, check this section to know more about the current limitations.
Requirements
Each layer builds upon the previous one, this means that a specific layer will be disabled in the UI unless all the previous layer checkboxes have been checked. This rule applies to all the layers except for Locators and Sensors, which can be enabled or disabled without affecting the building of other layers.
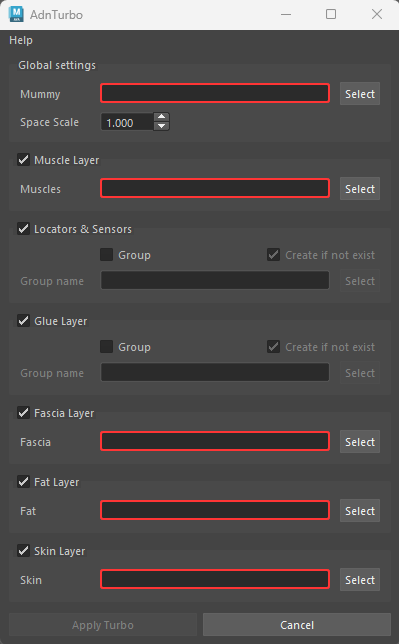
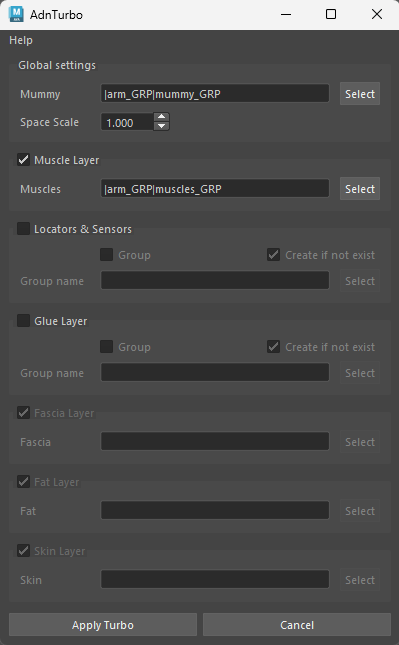
To configure at least the muscle layer, the following inputs are required:
- Mummy: the skeletal mesh that drives the muscle simulation.
- Muscles: one or more meshes representing muscles. The Muscle Layer checkbox must be enabled to provide this input.
When these two inputs are provided and the following layers are unchecked, AdnTurbo will be ready to be executed. If the Locators & Sensors checkbox is checked, locators and sensors will be built for each muscle.
To configure the downstream layers, the following inputs have to be provided:
- Fascia: the fascia mesh to which AdnSkin is applied. The Glue Layer checkbox must be checked for the Fascia Layer to become enabled.
- Fat: the fat mesh to which AdnFat is applied. The Fascia Layer checkbox must be checked for the Fat Layer to become enabled.
- Skin: the skin mesh to which AdnSkin is applied. The Fat Layer checkbox must be checked for the Skin Layer to become enabled.
Note that if any input is wrong or missing, the corresponding input text will turn red and an error message will be shown when hovering over it. In this case, the Apply Turbo button will be disabled.
How to use
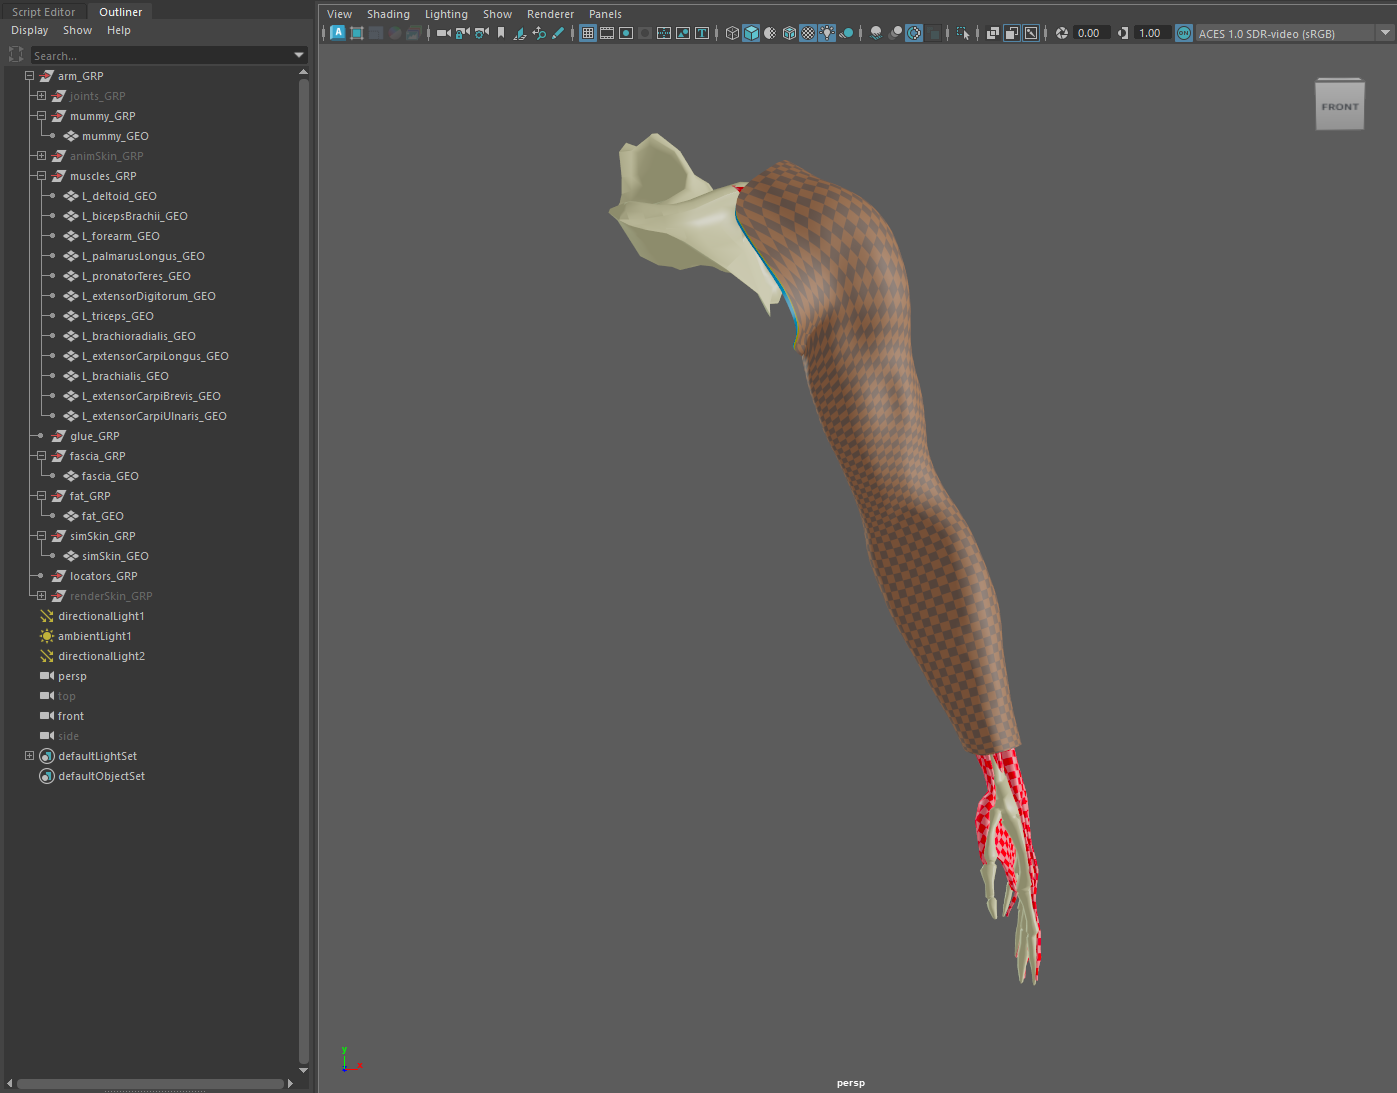
- Open a scene containing the geometries for all the layers to be built.
-
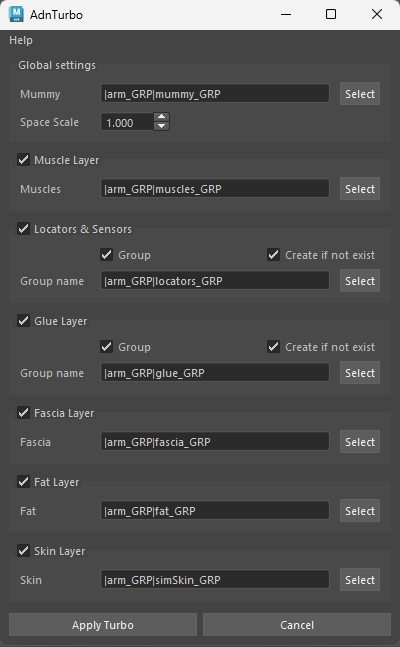
Provide the inputs in the Turbo UI according to the layers that have to be built. Refer to Figure 3 to build all the layers.
-
Additionally, to place the output glue geometry in a specific group, check the Group option and provide a Group name in the Glue Layer UI group. Likewise, to place locator and rivet nodes into their own group, use the same options in the counterpart group Locators & Sensors. If the specified group does not exist, checking the Create if not exist option will make AdnTurbo to create it automatically.
-
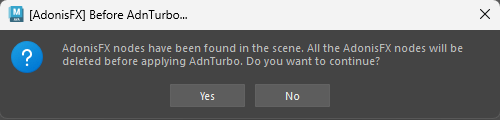
If the scene contains AdonisFX nodes, a confirmation dialog will appear informing about it. Press Yes to automatically delete all AdonisFX nodes or No to cancel the execution.
- If something goes wrong during the execution, an error dialog will be displayed informing about the problem to help with the troubleshooting. Note that the whole AdnTurbo can be undone.
- If multiple geometries or groups share the same name in different groups (e.g. group1|geo and group2|geo, group1|group3 and group2|group3), providing the full DAG path will be required.
- Fascia and fat meshes must have the same topology for the AdnFat deformer to be created by AdnTurbo.
- AdnTurbo can also be executed via Python scripting. For more details, please refer to the Turbo Script page.
Result
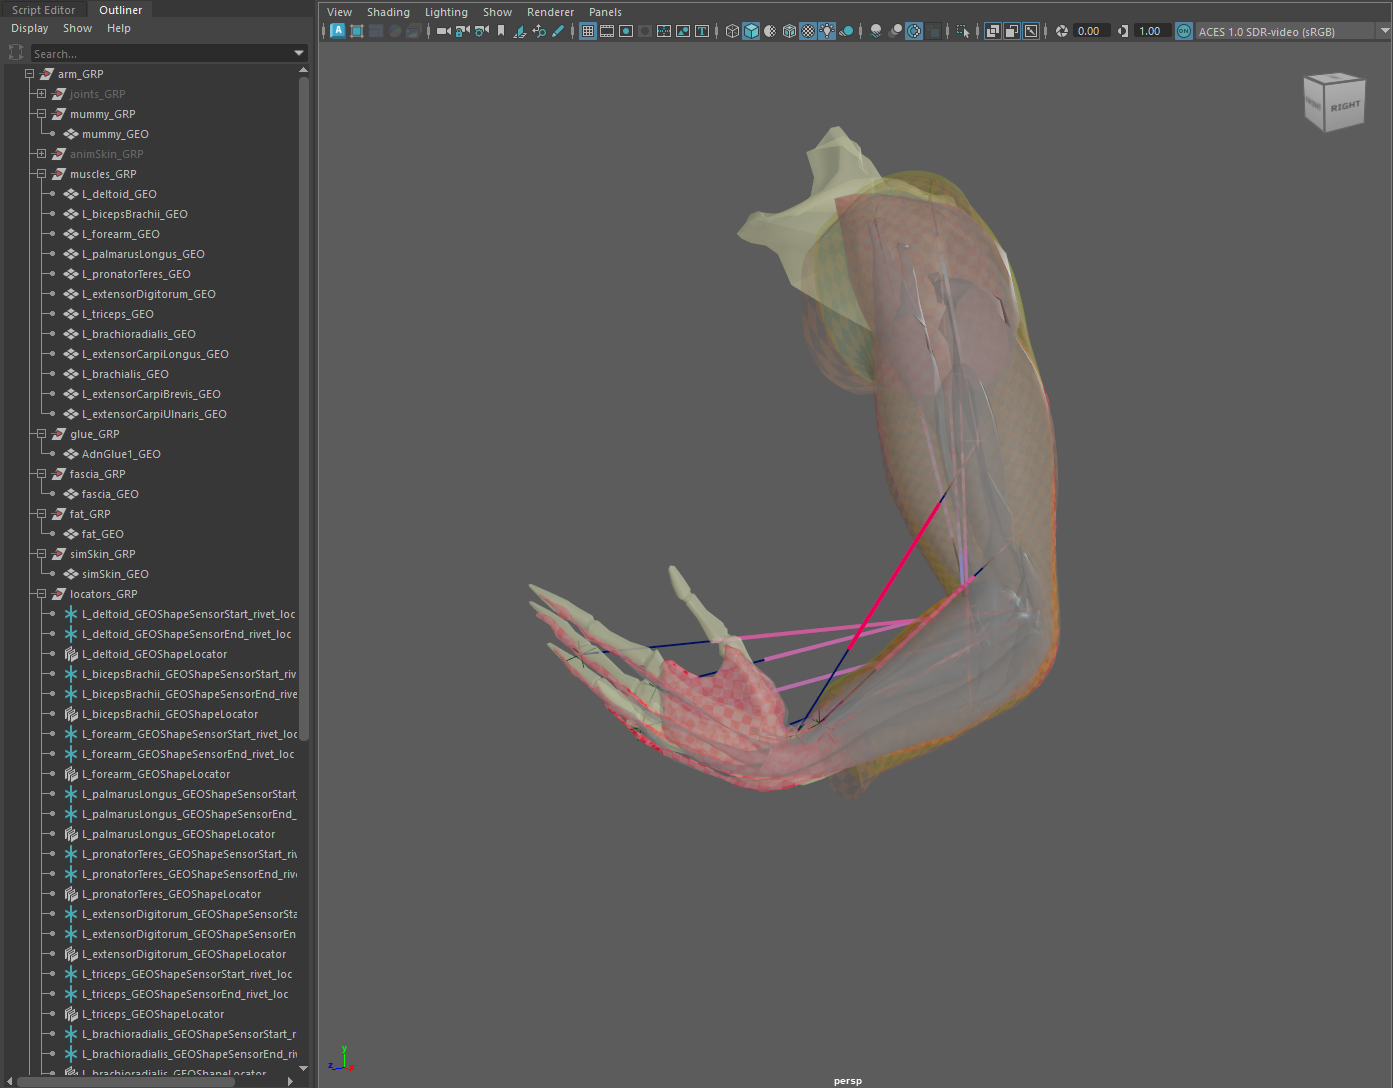
As a result of executing the tool by providing the geometries for all the layers, the following nodes will be created:
- An AdnMuscle for each muscle geometry with the mummy geometry as target.
- An AdonisFX locator and sensor for each AdnMuscle to drive the muscle activation.
- An AdnGlue node (including its glue output geometry) with all the muscles as inputs.
- An AdnSkin node for the fascia geometry with the mummy and glue geometries as targets.
- An AdnRelax node applied on top of the fascia AdnSkin.
- An AdnFat node for the fat geometry with the fascia geometry as base mesh.
- An AdnRelax node applied on top of the AdnFat.
- An AdnSkin node for the skin geometry.
Limitations
- The Glue Layer cannot be bypassed. This means that for the Fascia Layer to be enabled, the Glue Layer checkbox must be checked.
- If the Yes button is pressed in the question dialog (see figure 5) the tool will automatically remove all the AdonisFX nodes from the scene. However, other auxiliary nodes created in previous executions of the script will not be removed (i.e. glue output geometry, rivet nodes).
- The default values that AdnTurbo will use to configure each deformer cannot be customized.
- AdnTurbo does not support namespaces in object paths.

