
AdonisFX 2.0: The Turbo Workflow
Autorigging for simulation setups.
AdonisFX 2.0: The Turbo Workflow
Autorigging for simulation setups.

Introduction
If you’ve spent any time in character rigging, you’re intimately familiar with the power of auto-rig systems. Tools like mGear or Advanced Skeleton allow riggers to define a character's proportions, click a button, and walk away with a functional animation rig in seconds.
The philosophy is simple: automate the repetitive, structural heavy lifting so that artists can spend their time on the creative refinements that actually require a human eye.
Turbo brings that same principle into the creature effects (CFX) pipeline. Rather than building a muscle and skin simulation setup one muscle at a time and one constraint at a time, the Turbo workflow only requires you to populate a simple list of source elements in the UI, hit Apply, and it will generate a fully connected, multi-layer simulation rig in a matter of minutes.
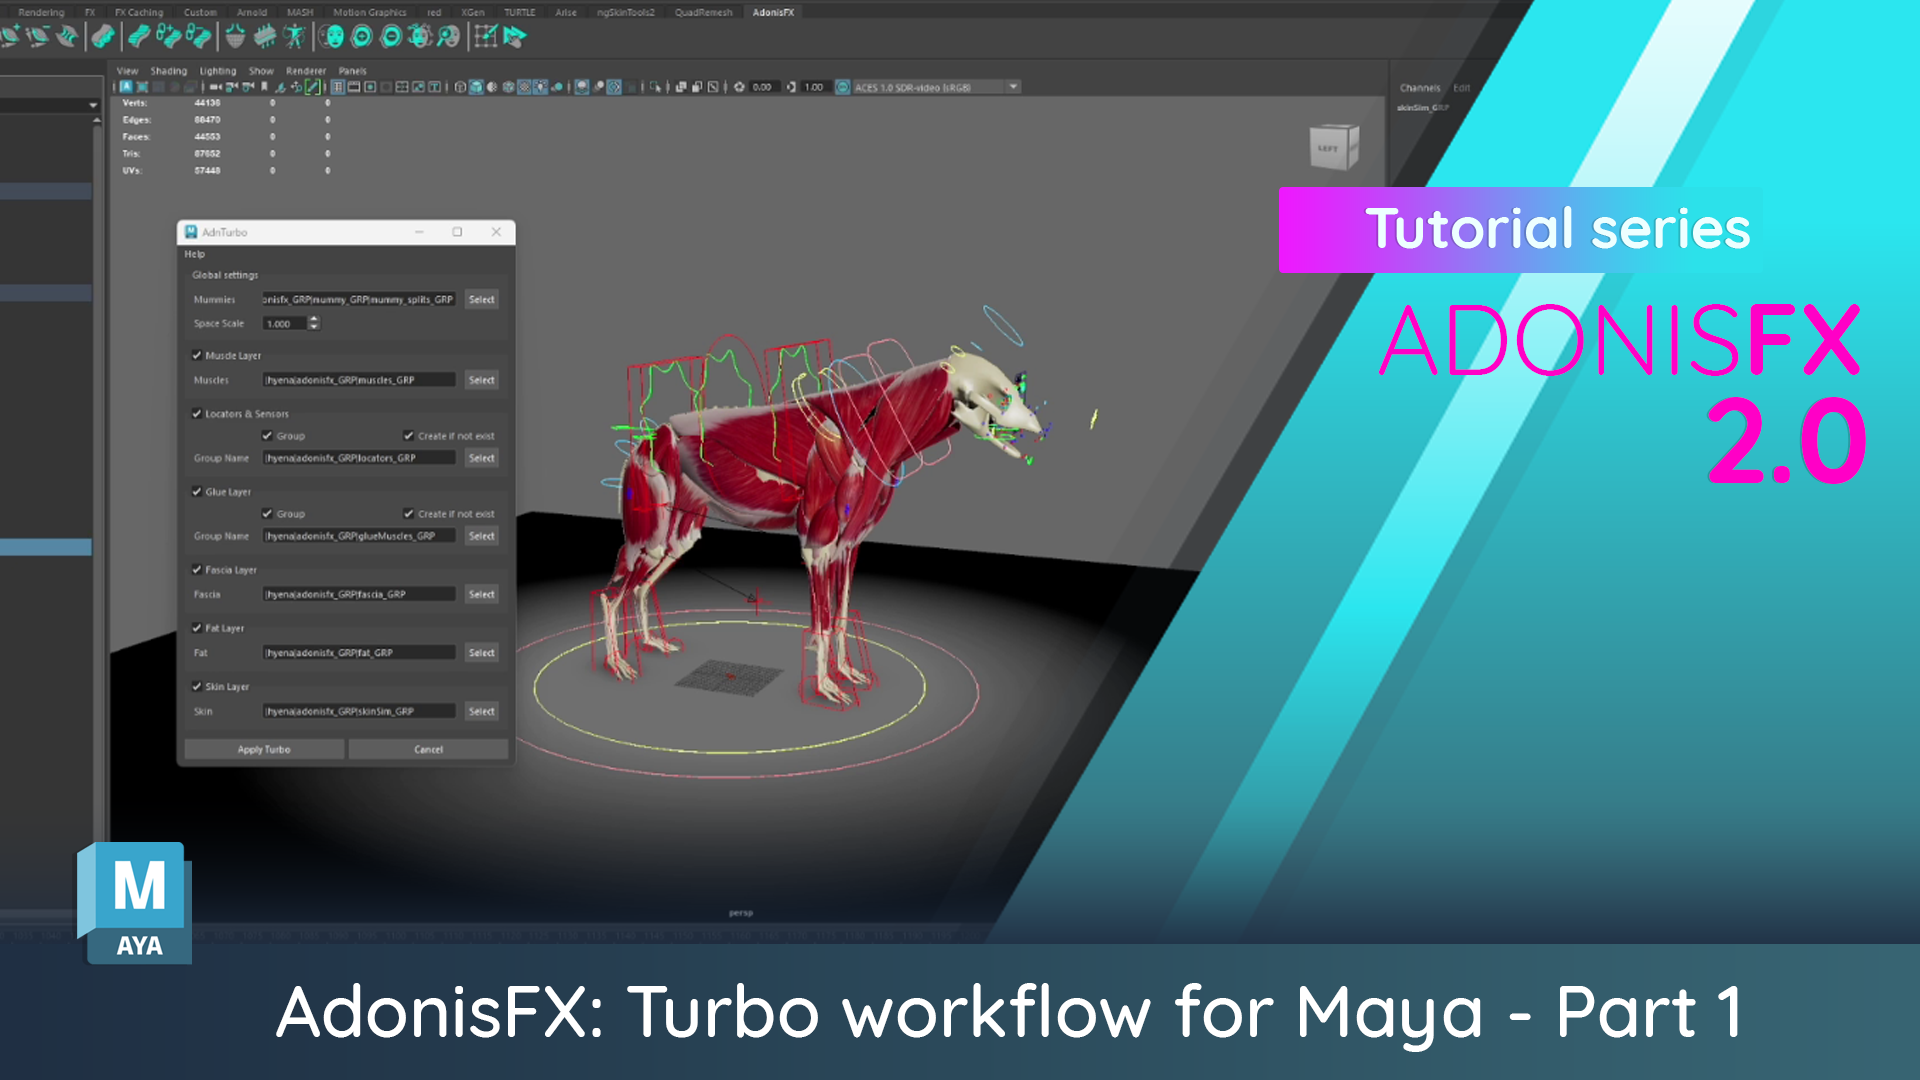
In this first video, we cover how to do the initial setup with Turbo. This gets you a full simulation setup for your character that allows you to get some initial feedback and provides a big headstart on getting to something that looks great.
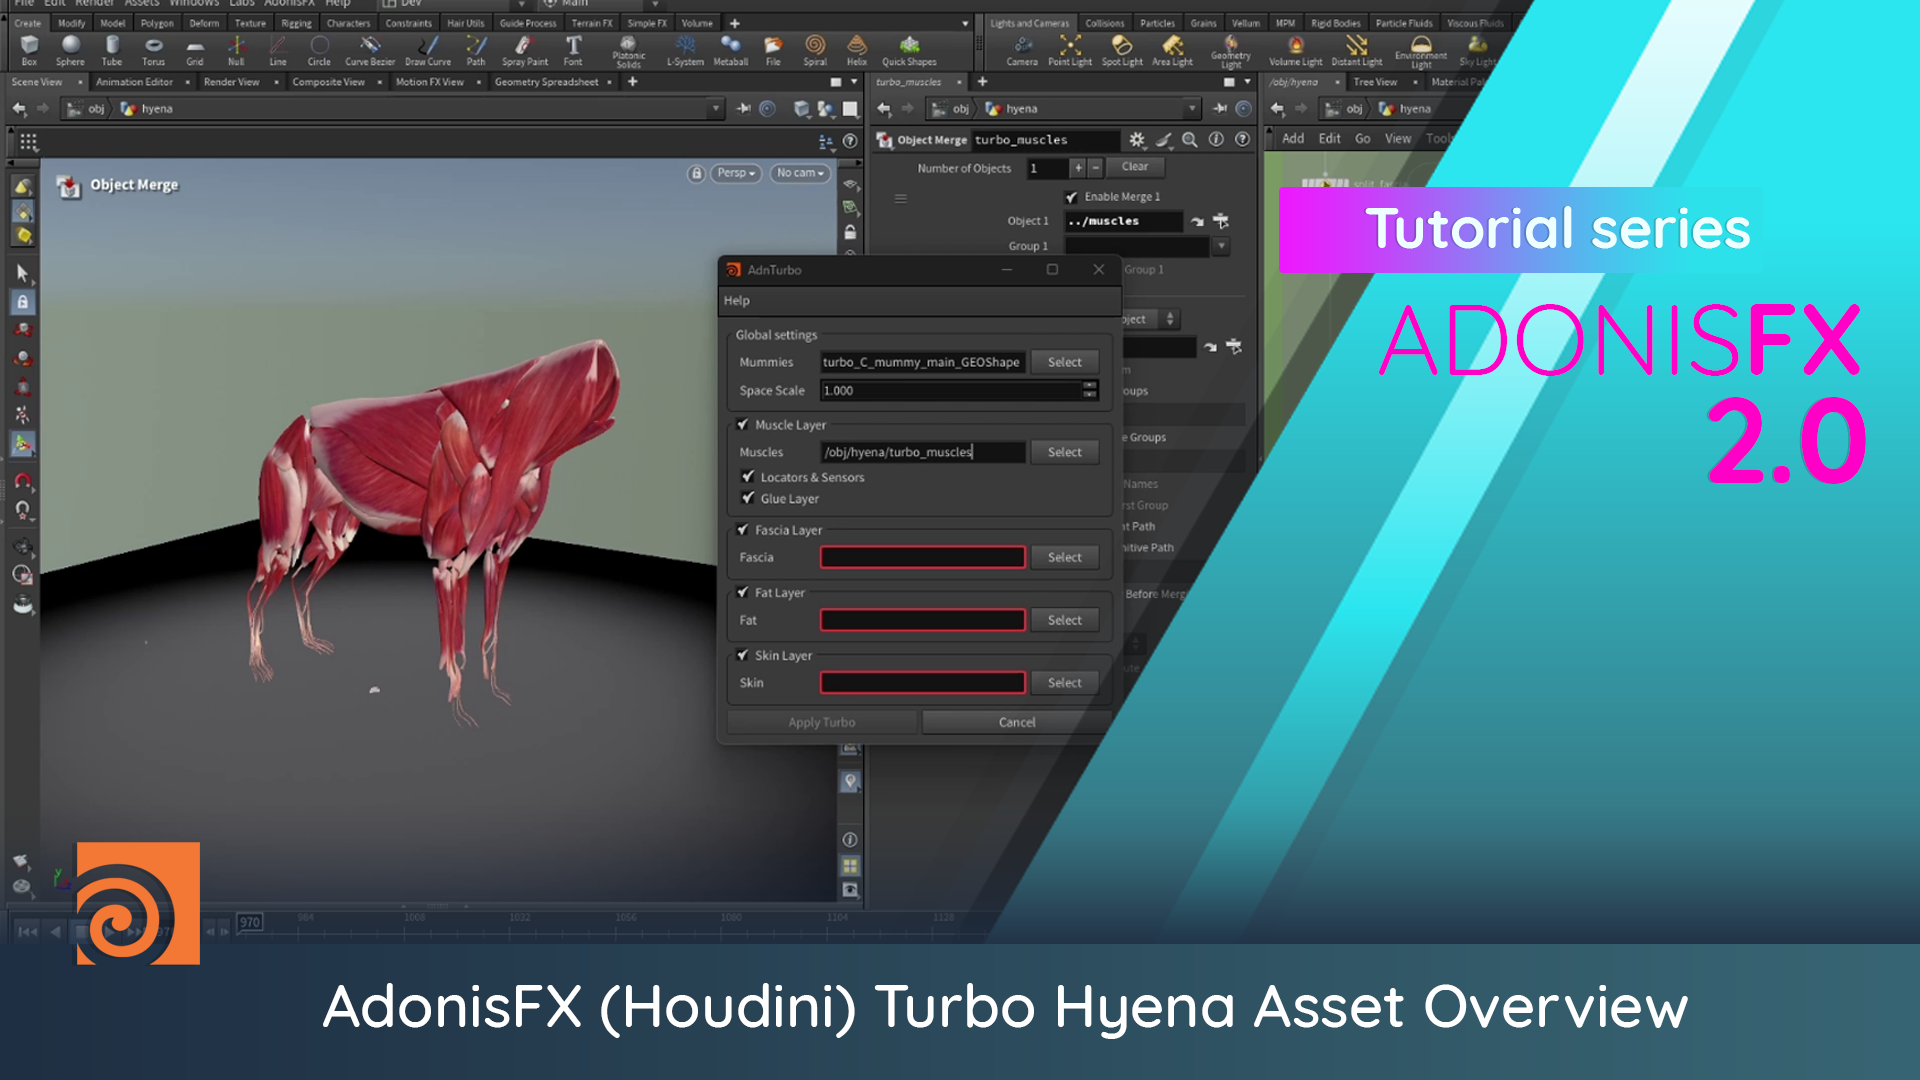
AdonisFX 2.0 comes with full Houdini support, so here’s the same workflow running inside Houdini.
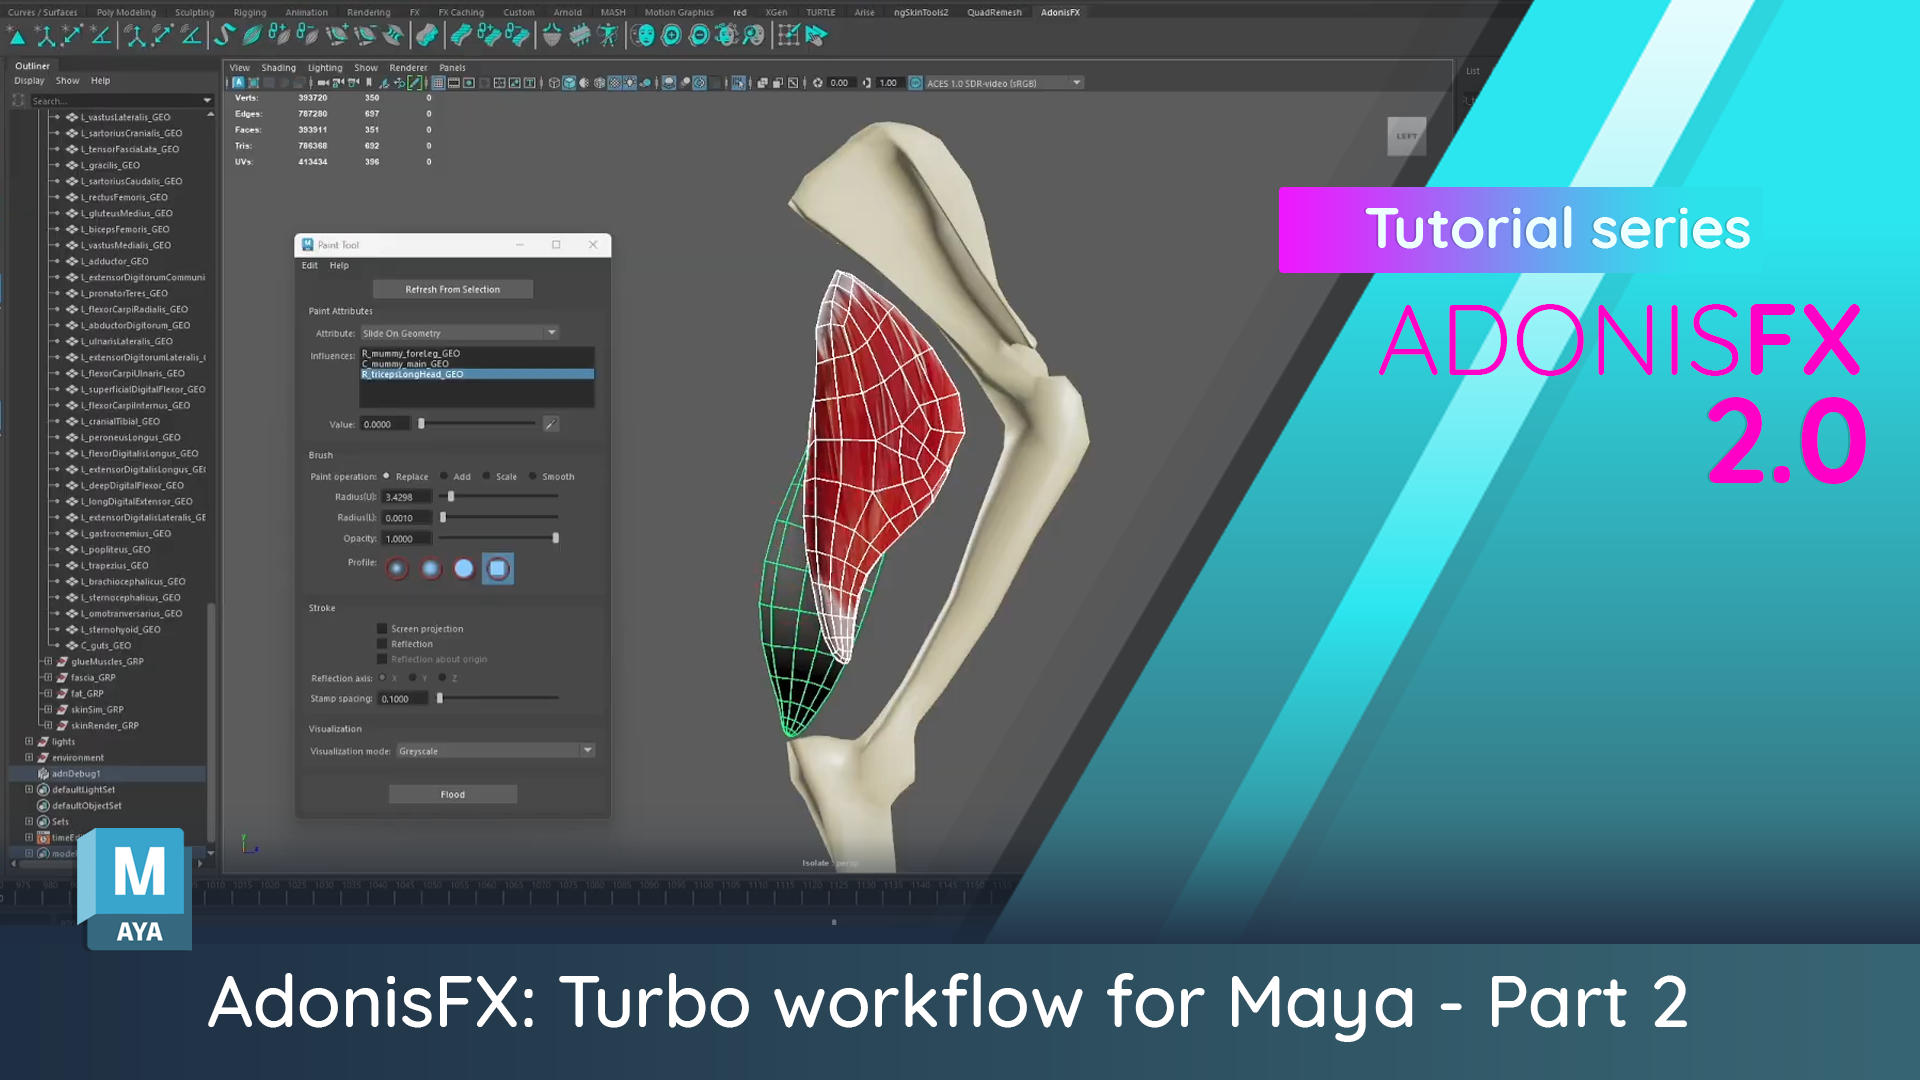
From there, we dive into Refinement. This is how you’ll use the AdonisFX paint tools to tune maps, adjust settings, and bridge the gap between an "out-of-the-box" Turbo result and Crafted quality.
From Animation to Simulation
This workflow is presented by William Gabriele, a creature consultant at Inbibo with over a decade of experience supervising creature development at world-class studios like MPC, Framestore, and DNEG.
William’s background is rooted in animation rigging, and he has long advocated for bringing the same speed, structure, and accessibility into the simulation world. He recognized a common production bottleneck: while animation rigs have become increasingly automated, simulation rigs have largely remained a manual, labor-intensive process that acts as a barrier to early-stage creative feedback.
Why not just use the "Crafted" workflow?
AdonisFX has always offered what we call the Crafted Workflow. This is the meticulous, muscle-by-muscle approach where artists define every origin and insertion, paint every map, and tune every property for total creative control.
The Crafted Workflow remains our recommended approach for hero work, as there isn’t yet a replacement for the fine control required to produce those kinds of shots.
However, production realities don't always afford you the luxury of time. Turbo is designed for those high-pressure moments where you need to show a supervisor a "vanilla" walk cycle with firing muscles and deforming skin by the end of the day. It is also perfect for anatomy verification early in a show, when the question isn’t "is this final quality?" but rather, "does this creature's anatomy actually hold up in motion?"
Turbo gets you to a working result quickly and easily. This allows you to demonstrate viability and gather feedback before committing to a deep-dive manual setup.
Our Workflows
Turbo takes a mummy (a simplified proxy skeleton) and automatically builds a complete simulation rig on top of it: muscles, fascia, fat, and skin. It's designed for speed, and the result can be refined toward production quality from there.
Hybrid takes the deforming geometry from an existing animation rig and adds a procedural fascia, fat simulation, and skin pass on top. No skeleton or muscles required.
Crafted is the full anatomy workflow: muscles modelled and placed, every layer built and tuned by hand. The most control, and the most time.
How it Works: One Button, Multiple Layers
The Turbo UI is deliberately minimal. If you have already prepared your modeling layers, the population step takes seconds. You simply drag and drop your scene elements into the appropriate fields:
Geometric Skeleton: We recommend using "splits" to help the system properly project muscles during the binding process.
Muscle Geometry Group: No need to select individual objects; just pass the group.
Locator Sensors & Glue Layer: These are wired automatically based on your hierarchy.
Simulation Layers: Plug in your Fascia, Fat, and Skin sim geometries.
Then, the system goes to work. It iterates through every muscle, finds the closest points on the skeleton, creates constraints, and applies shape-appropriate properties and maps. It even wires up the sensors that instruct muscles when to contract, expand, or react to velocity and impact.
The result is a fully functional, fully connected simulation rig that plays back immediately. For a process that starts with a single button press, it provides an incredibly sophisticated foundation.
Do I need scripting skills?
We see this question regularly on LinkedIn, and the Turbo workflow is our direct answer. You do not need scripting skills or deep technical knowledge to get started with AdonisFX. The shelf provides all the tools you need via a visual interface. We’ve deliberately lowered the barrier to entry so that any artist, regardless of their coding background, can generate professional-grade results and see their characters move with anatomical plausibility.
Refinement workflow
In the refinement process, you step through the autorigged layers as follows:
Sensor Layer: The foundation for instructing muscle behavior.
Muscle Layer: Defining volume activation ratios and using the Adonis FX paint tool to define "attach to geometry" and "slide on geometry" maps. Debug mode is a crucial tool for visualizing fiber flow and constraint behavior. This where you also add muscle targets and use the mirror tool to propagate refinements to the other side of the creature.
Glue Muscle Layer: This layer helps muscles stick together organically.
Fascia Layer: Acts as the first layer that reads the anatomy underneath. You can use hard constraint maps to ensure the fascia sticks to the anatomy, while keeping compression resistance maps painted to help the solver handle specific areas.
Fat Layer: Provides organic volume preservation and secondary jiggle. Here you can use hard constraint maps to dial down excessive motion in areas like the legs.
Skin Sim Layer: The final simulation layer. Using the Adonis FX paint tool to define hard constraints, ensuring the cutout sticks to the fat layer.
Skin Render Mesh: The final step involves using the Adonis skin merge deformer to blend the simulated animation with the rig, using a blend map to dictate where the mesh follows the skin simulation versus the animation rig.
This where the detail requirements for the character are going to dictate the amount of time required for refinement. No matter what, the Turbo workflow will get you somewhere useful very quickly so you can get a sense for how simulation is going to hold up with animation. For background characters you might not need to do anything further, but for more key characters the refinement workflow is there to get you to a Crafted outcome.
Join the Community: If you have questions or want to showcase your results, join our community on the Discourse platform. The full Inbibo team is active there and ready to help you troubleshoot your builds and push your simulations further.

