
Import
The AdonisFX Import is a tool designed to facilitate the import of a complete AdonisFX rig into a Houdini scene. This tool enables users to restore previously exported rigs by reading the data from a JSON file and rebuilding all selected components in the scene. The tool ensures a structured and efficient workflow for transferring, reusing, or backing up AdonisFX rigs.
UI
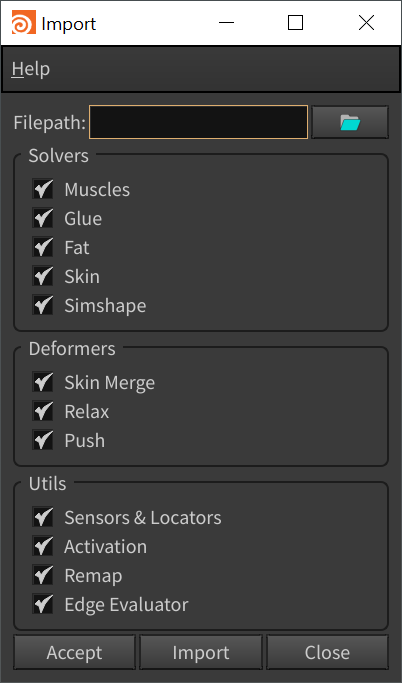
The Import Tool offers an intuitive interface (see Figure 1), allowing users to configure import settings according to their specific requirements. Below is a breakdown of the available UI elements:
-
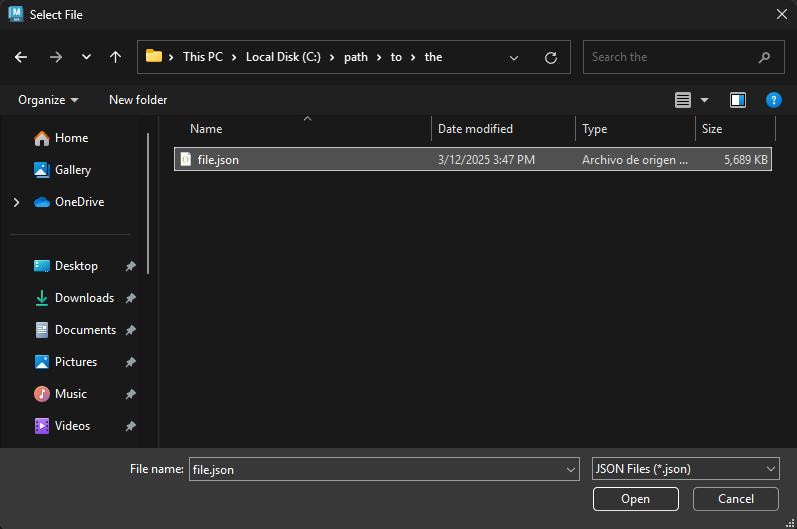
Filepath: Specifies the path to the JSON file containing the data to be imported. Clicking the folder icon opens a file browser to select the desired file.
-
Solvers: Defines which solvers should be imported. Options include:
- Muscles: imports AdnMuscle and AdnRibbonMuscle nodes and their settings.
- Glue: imports AdnGlue nodes and their settings.
- Fat: imports AdnFat nodes and their settings.
- Skin: imports AdnSkin nodes and their settings.
- Simshape: imports AdnSimshape nodes and their settings.
-
Deformers: Specifies which deformers should be imported. Options include:
- Skin Merge: imports AdnSkinMerge nodes and their settings.
- Relax: imports AdnRelax nodes and their settings.
- Push: imports AdnPush nodes and their settings.
-
Utils: Allows importing utility components from the JSON file. Options include:
- Sensors & Locators: imports AdonisFX sensors and locators, ensuring proper connections between components.
- Activation: imports activation nodes and their connections to AdnMuscle nodes.
- Remap: imports AdnRemap nodes, including their settings and connections to other nodes.
- Edge Evaluator: imports EdgeEvaluator nodes, including their settings and connections to other nodes.
-
Buttons:
- Accept: executes the import process based on the selected options and closes the window.
- Import: executes the import process based on the selected options without closing the window.
- Close: closes the window without importing.
Requirements
Before importing an AdonisFX rig, the target Houdini scene must meet the following requirements to ensure a successful reconstruction:
-
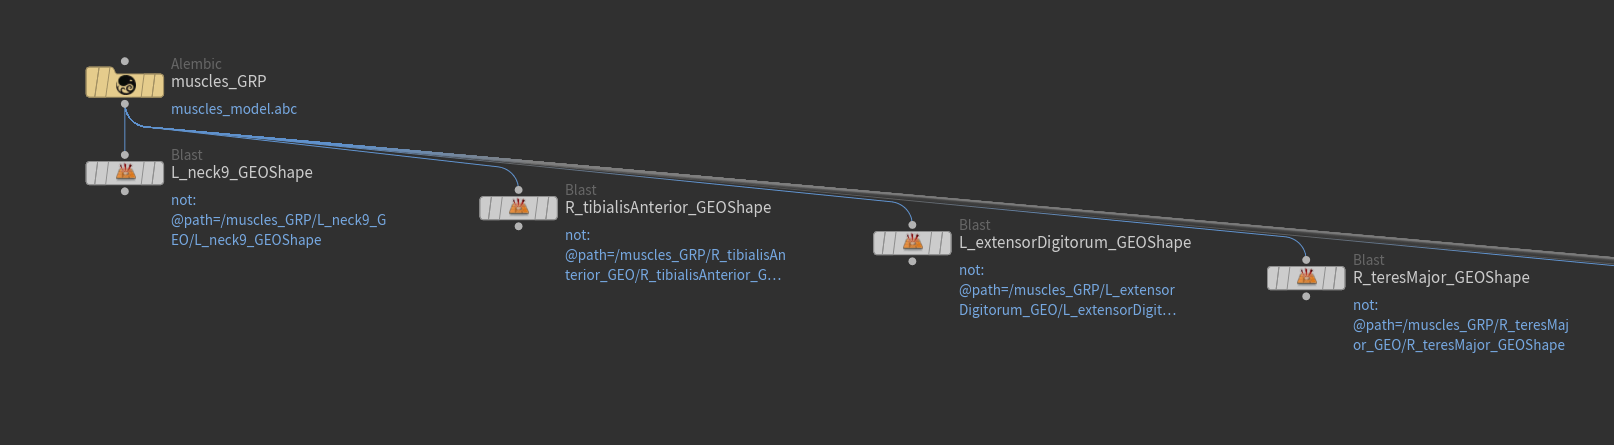
Matching Geometry for Solvers and Deformers: Any geometry that had solvers or deformers applied in the original scene must also exist in the target scene. The geometries must have the same name and topology (i.e. same vertex count and vertex IDs) as in the exported scene to ensure that weight maps and settings are correctly restored.
-
Separated Muscle Pieces: The muscle geometries must be separated to allow the importer to create and configure the individual solvers. Also, each separated muscle geometry must preserve the piece attribute used for the splitting. The AdonisFX menu provides with a shortcut to extract and separate all the geometries from the selected node by piece attribute (i.e. by "path", "muscle_id" or "name", in this order) in AdonisFX > Utils > Separate Geometries.
- Matching Dependency Nodes for Locators and Sensors: Since AdonisFX locators and sensors rely on transform inputs, the target scene must contain nodes (i.e., rig joints) in the /obj context with the same names as those used in the exported rig. This ensures that dependencies between nodes are restored properly.
How To Use
To import an AdonisFX rig, ensure that you have a valid exported JSON file and follow these steps:
- Optionally, if the target scene contains any dirty or unwanted AdonisFX nodes, it may be advisable to remove all of them by using the Clear option provided in AdonisFX menu > Utils > Clear.
-
Go to AdonisFX menu > Import (beta) to open the Import window.
-
Specify the file path of the JSON file that contains the exported rig data.
-
Select the features to import from the Solvers, Deformers and Utils sections. To import the entire rig, enable all options.
-
Click Accept or Import to execute the import process.
Depending on the complexity of the rig, the import process might take a few seconds to complete. Once finished, all the selected components will be reconstructed in the scene.
The previous steps corresponds to importing a rig that was exported from the same scene. However the same steps can be followed to transfer the exported rig to a different asset as long as the target scene fulfills the requirements listed in this section.
- The Import Tool is labeled as Beta since it relies on the experimental API.
- Importing data is required to be executed on rest frame.
Limitations
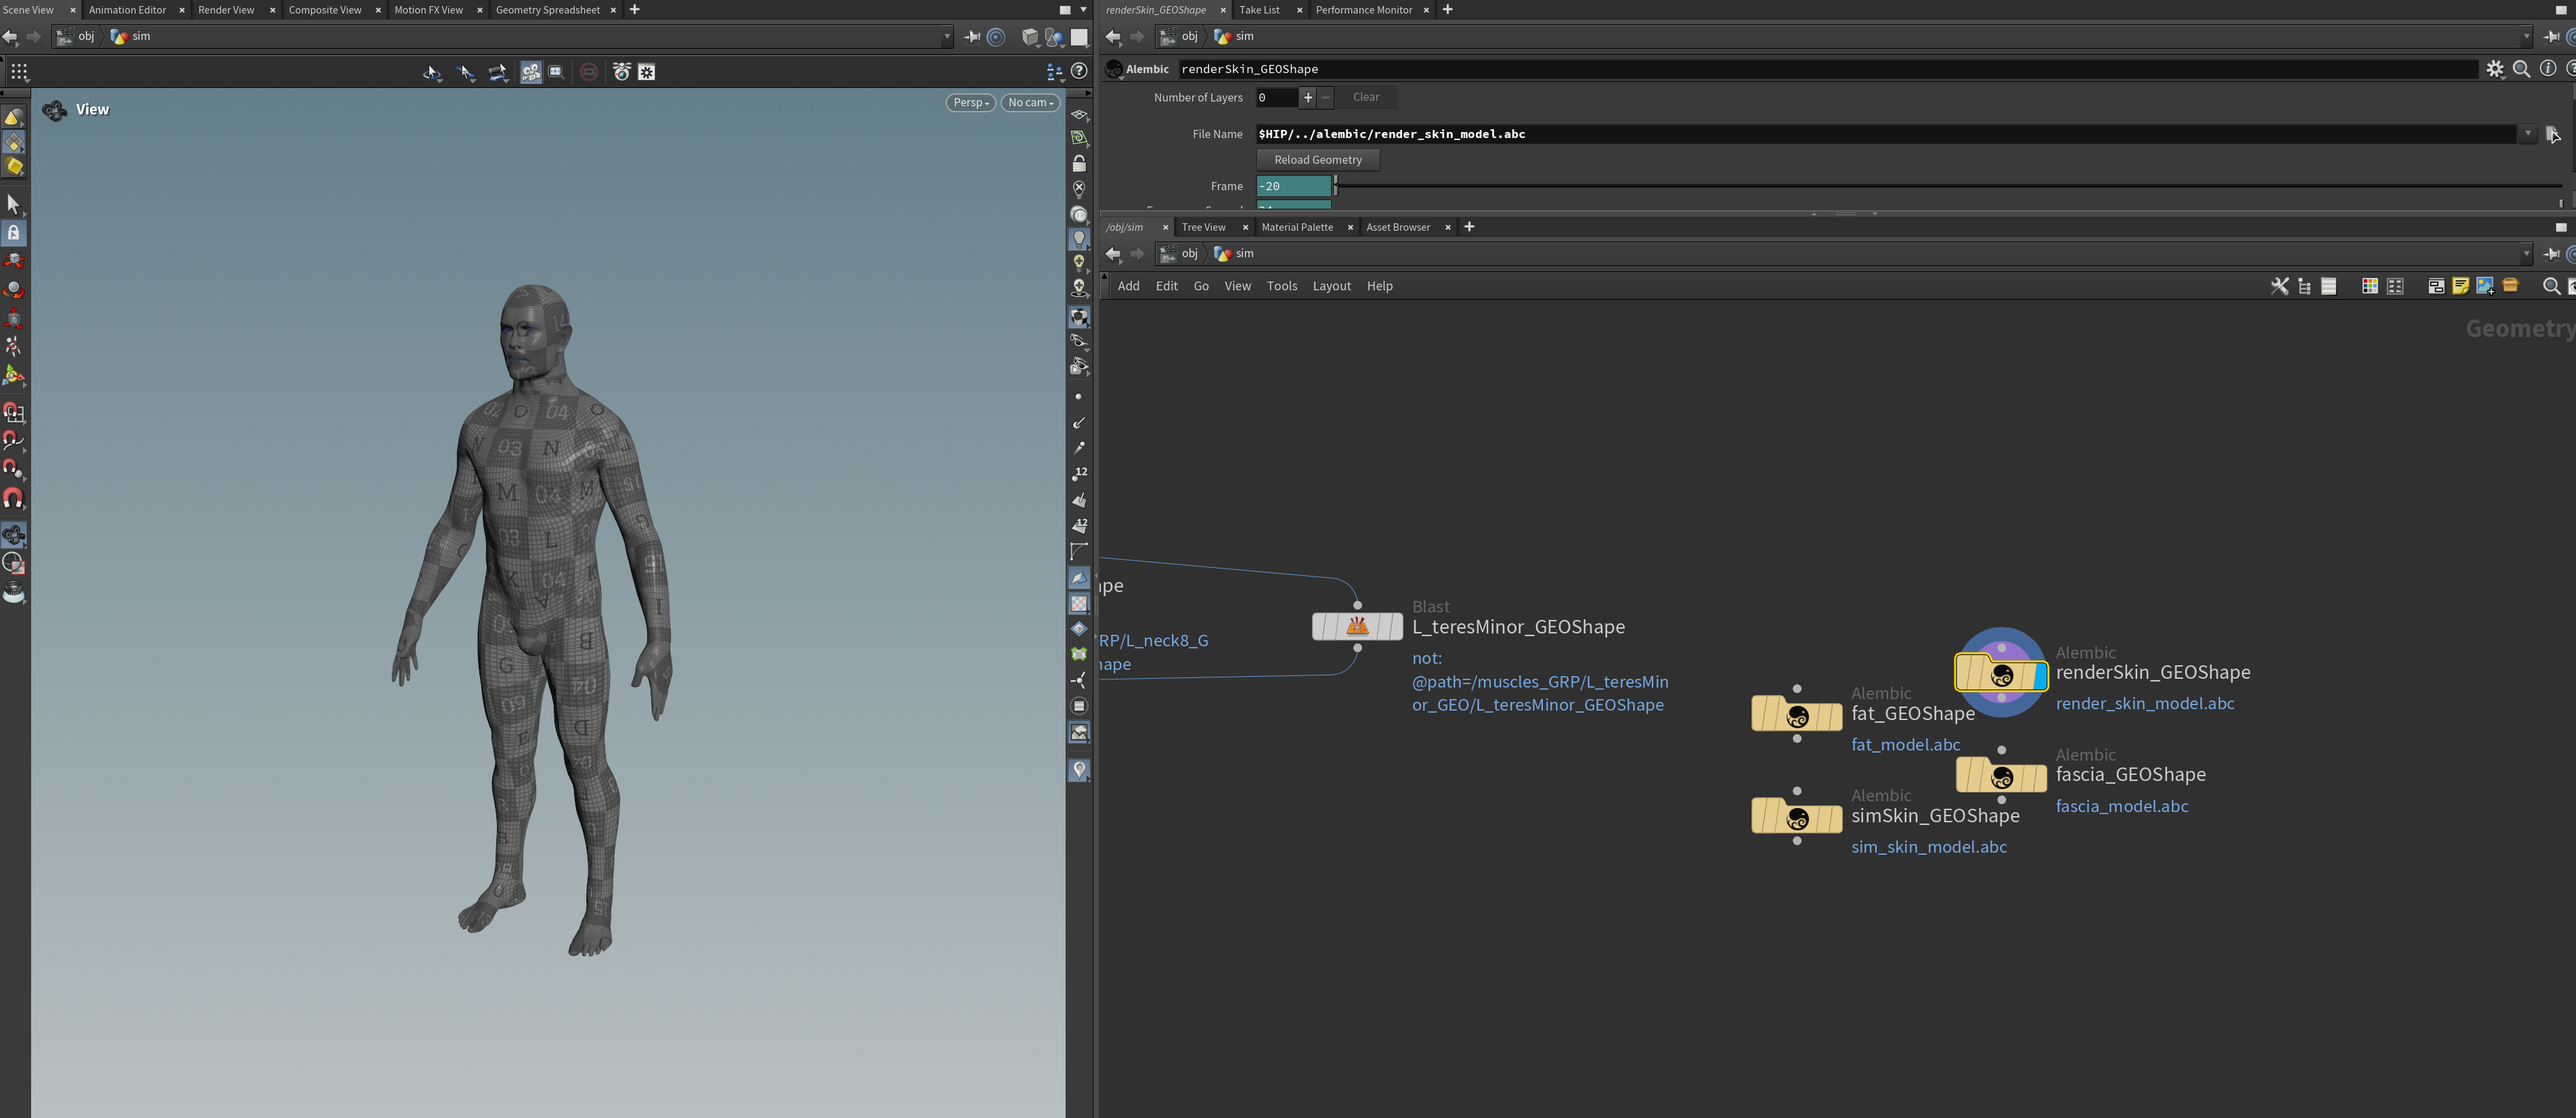
- The import tool does not support subnetworks inside of the Geometry context. This means that all AdonisFX SOP nodes (and any other SOP nodes containing geometry required by the AdonisFX rig) must exist at the same level within the Geometry context (e.g., /obj/geo1).
- Only one active geometry node (with the visibility/display flag enabled) in the /obj context is allowed for the import tool to work.
- Nodes used to drive attachment to transform or slide on segment constraints (e.g. null, joint or rivet nodes) must live in the /obj context.
- KineFX joint transforms are not supported.

